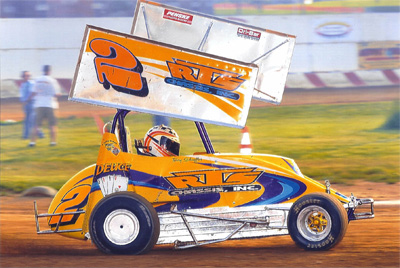
Division: RTS 270
|
RTS 270 Menu:Order form (PDF file) Parts list (Webpage) Installation instructions (below) Installation instructions (PDF file) |
|
250 – 270 Dri-Bar Installation Instructions
- Remove system from shipping container
- The system is to be installed on the cross member behind the seat that the fuel tank attaches to. The chassis clamps will be attached to the 1” tube, in between the fuel tank mounts. Looking from the back of the car to the front, the thicker blade will be on the right side of the car, with the adjustable unit on the left, and the Dri-Bar unit will hang down BELOW the cross member it attaches to.
- First we must remove the top caps from the chassis mounts and remove the 1” tube installed for shipping purposes.
- Put the unit in place up against the !” tube in between the fuel tank mounts with the chassis Clamps 6 ½” apart, and replace the caps and fasteners.
- Next we would suggest that you remove the Long 3/8” bolts that go through the aluminum chassis mounts and Dri-Bar units and grease appropriately. Being careful to apply a small amount of grease to the mating surfaces of the Chassis mounts and Dri-Bar Bases to prevent a bind or galling.
- Replace 3/8” bolts and tighten until the bolts are just tight enough that the base unit will not fall down by itself. We want them free, but any more than that will create excessive wear.
- The cockpit control unit is to be located on the 1” tube, shoulder height on the right side of the cockpit. Remove caps & install on tube as far forward as possible. Set handle in detent towards rear of car - install cable mount to same tube – pull mount & cable towards rear of car until cable is at end of travel – Then move forward 1/8” and lock in place. This will provide full range of travel with adjustor.
- When attaching or REPLACING cable’s to either Dri-Bar unit or cockpit control the 10-32 heim joint is to be threaded completely on, and the cable is to be locked in place with jam nuts in center of threaded portion. These two steps will be necessary to achieve full range of adjustment.
- Once the unit and control are in place the Top radius rod bolts supplied can be installed. These bolts are drilled and tapped to accept the drop link fastener.
- First install the ¼” bolt attaching drop link to top left radius rod bolt (top radius rod bolt supplied with kit)
- Then with driver in seat, tire pressures set, chassis blocked, race ready for competition, adjust right side drop link until the ¼” bolt can be installed without loading Dri-Bar (its best to just slightly lift up with one finger the blade to remove any possible free play or slop in the system without bending either blade).
- Its recommended to start with the handle in the forward position (FULL STIFF) to resist weight transfer when the track is heavy or rough, and move towards the rear of the car as the track looses grip, in order to maintain a balance.
- It is VERY IMPORTANT to follow the recommended shock suggestions in order to maximize the gains of the Dri-Bar system.
Privacy Policy | Disclaimer | ©2011-2016 Drinan Industries | All Rights Reserved
